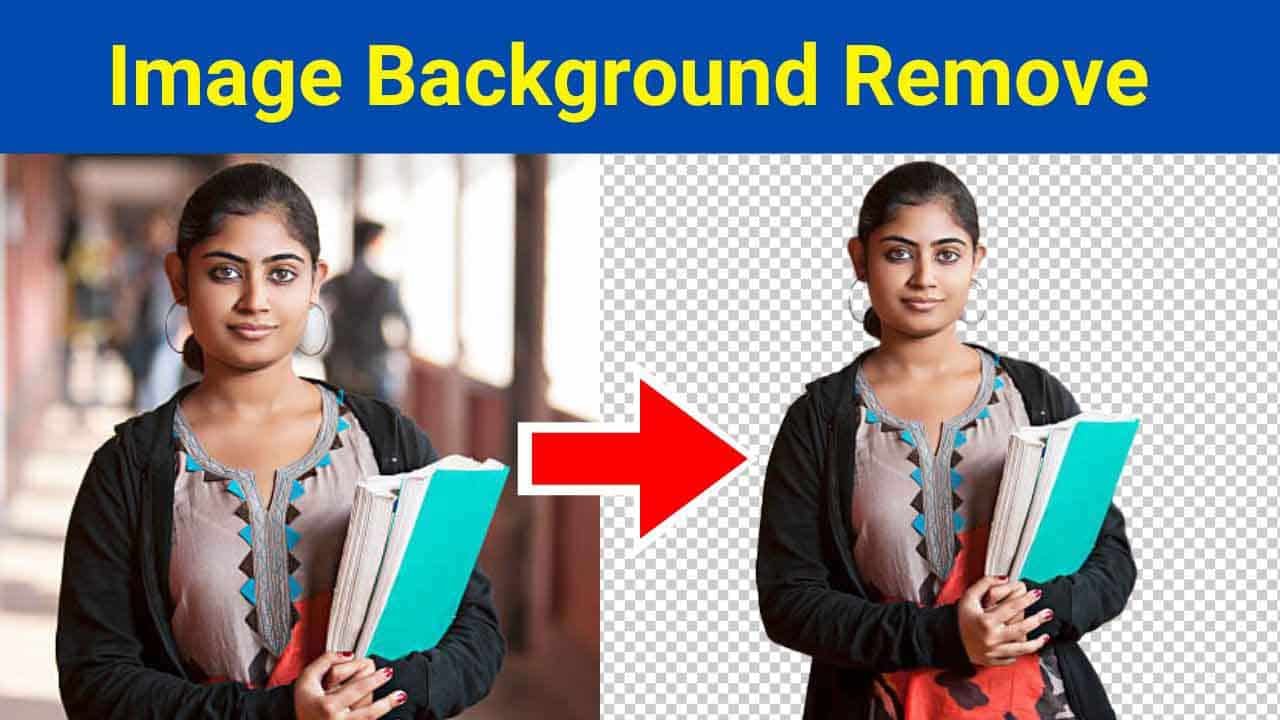
Image Background: Mastering Image Background Removal. Are you facing challenges with unwanted backgrounds in your images? Don’t worry! Our comprehensive guide will walk you through the process of seamlessly removing image backgrounds.
Mastering Image Background Removal
In today’s visually-driven world, high-quality images are essential for capturing audience attention and effectively conveying messages. However, distracting or irrelevant backgrounds can detract from the main subject of an image, diminishing its impact.
Step 1: Choosing the Right Tools
Before diving into the removal process, it’s vital to equip yourself with suitable tools. Popular software options like Adobe Photoshop, GIMP, and Canva offer robust features for background removal. Select the tool that best fits your skill level and needs.
Step 2: Importing Your Image
Once you’ve selected your preferred software, import the image you want to edit. Ensure that the image is of high quality and accurately represents the subject matter.
Step 3: Utilizing Selection Tools
Most editing software provides various selection tools to isolate the subject from its background. Experiment with tools such as the Magic Wand, Lasso, or Pen Tool to achieve precise selections.
Step 4: Refining the Selection
After making the initial selection, refine it to enhance accuracy. Features like feathering, edge detection, and brush tools can help smooth transitions and eliminate jagged edges.
Step 5: Removing the Background
With your selection refined, it’s time to remove the background. Depending on the software you’re using, this process may involve deleting the selected area or using a dedicated background removal tool.
Step 6: Fine-Tuning and Touch-Ups
After removing the background, inspect the image for imperfections or inconsistencies. Use tools like the Clone Stamp or Healing Brush to address any remaining artifacts and ensure a seamless final result.
Step 7: Saving Your Edited Image
Before saving your edited image, consider the desired file format and compression settings. Choose formats like PNG or TIFF to preserve image quality, especially if transparency is required.
Step 8: Evaluating the Final Result
After completing the background removal process, evaluate the final result. Ensure that the subject stands out prominently and that the overall composition aligns with your intended vision.
Conclusion
By following these straightforward steps, you can master the art of image background removal and enhance the visual impact of your photos. Whether you’re a professional photographer, graphic designer, or simply someone passionate about creating captivating images, mastering this essential skill will open up a world of creative possibilities. So why wait? Start transforming your images today!
